
Defensive tactics in football come down to three team decisions: where on the pitch you start defending (your block), when you go to win the ball (your pressing triggers), and how you protect space and players while you wait (marking and compactness). Add clear jobs for the moments you lose the ball and for set pieces, and most youth teams concede fewer goals without changing a single player.
Below, each tactic is explained the way I’d explain it to a coaching group: what it is, when to use it, how to coach it to a youth team, and one practice you can run at your next session. For more practices, browse our defending drills.
The principles under every defensive tactic
Every system, from a back four to a back three, rests on the same few principles. If your players understand these, the tactics below make sense to them.
- Pressure: the nearest player goes to the ball to slow the attack down and stop a forward pass or shot.
- Cover: a second player sits behind and to the side of the presser, so if they are beaten, someone is there.
- Balance: players further away tuck in to protect the most dangerous space, usually the middle and the space behind.
- Compactness: the team stays narrow and short, with small gaps between players and between the lines.
- Communication: short, specific calls (“Press!”, “Step!”, “Hold!”, “Man on!”) so everyone moves together.
Our post on pressing, covering and staying compact goes deeper on these principles.
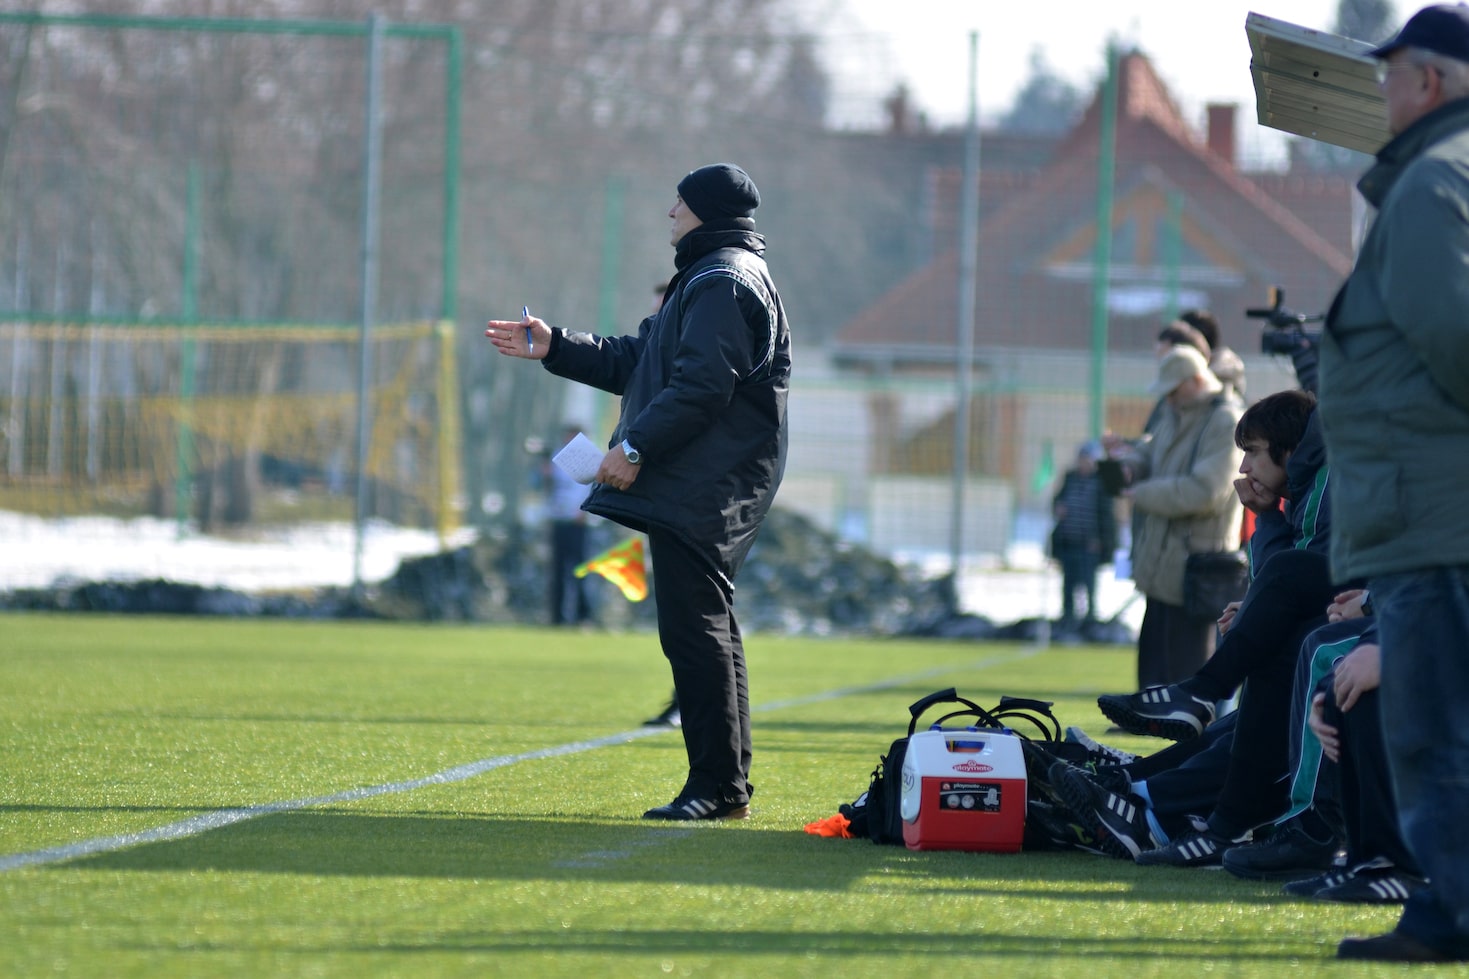
High block, mid block and low block
Your “block” is where your team sets up when the opposition has the ball. Think of the pitch in thirds: a high block starts defending in the opponent’s third, a mid block around the halfway line, and a low block around your own penalty area. Most good teams use all three in a game; the question is which is your default and when you switch.
High block
The front players press the opposition defenders and goalkeeper, midfielders push up to lock the short passes, and the back line holds a high line to keep the team compact. You win the ball close to goal, but you leave space behind your defence.
- Use it when: the opponent is uncomfortable playing out, you have quick defenders, or you need a goal.
- Risks: one long ball over the top, or one player pressing on their own, and you are exposed. Your goalkeeper needs to start well off the line and sweep up behind the defence.
- Coaching youth teams: in the FA’s 5v5 and 7v7 formats in England, the retreat line means you must drop into your own half at goal kicks until the ball is in play. So your high press starts after the first pass, not at the goal kick. Teach players to set up just inside their half and pounce on the first pass.
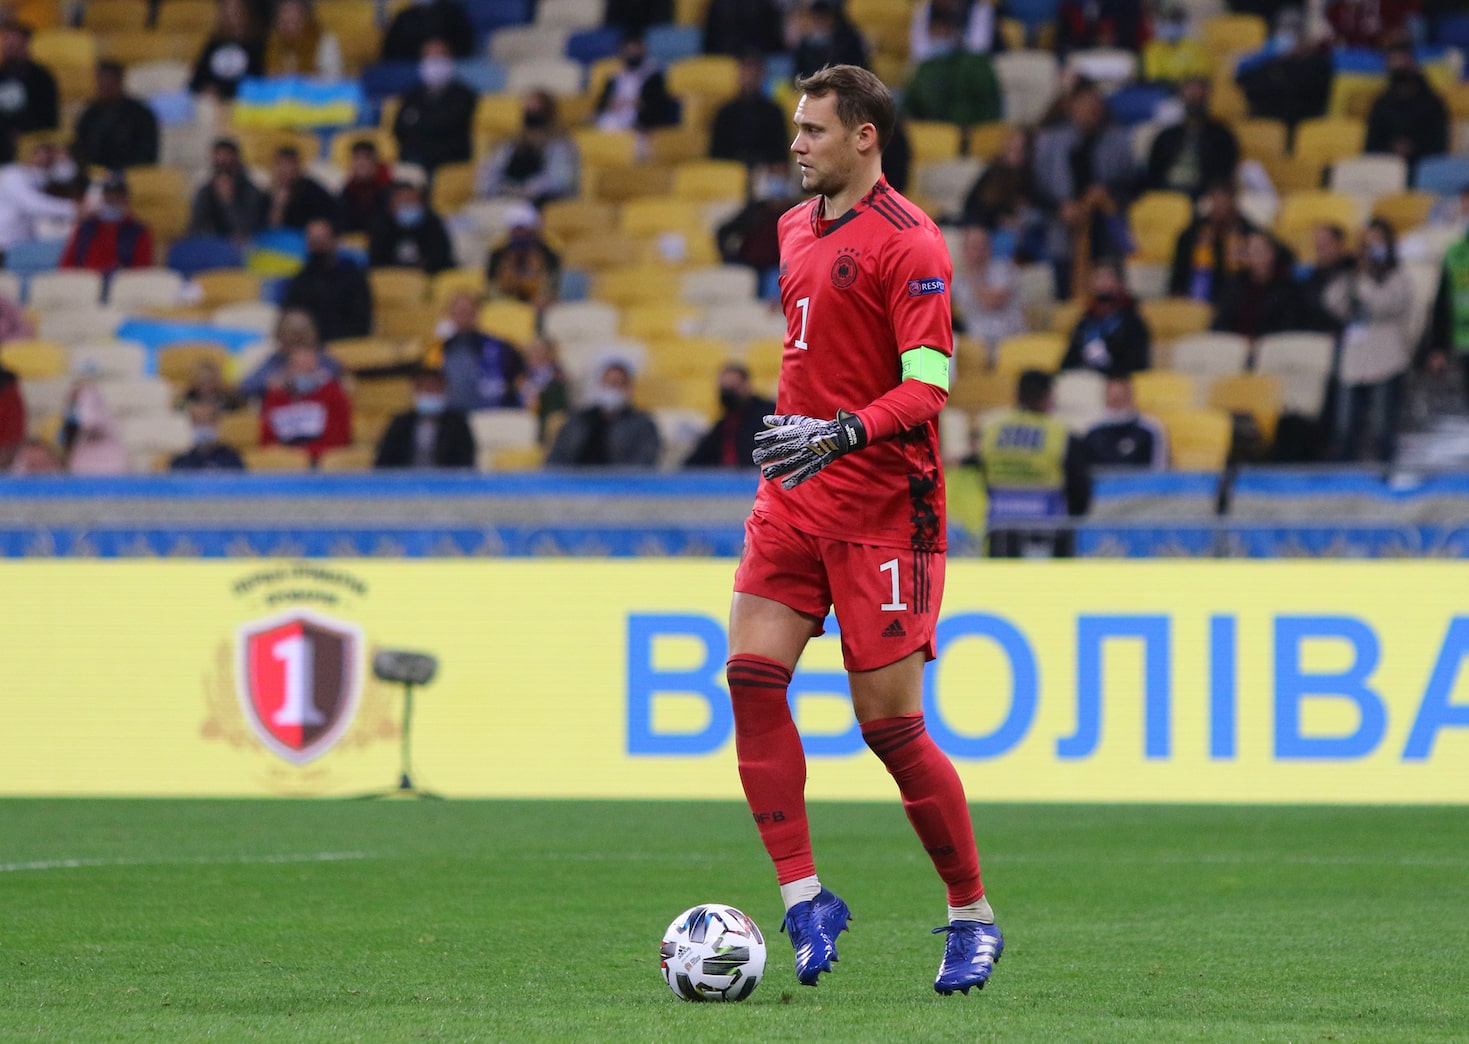
Drill: press the build-up. Use half a pitch (about 40 x 45 yards) with a full-size goal and goalkeeper at one end and two small target goals on the halfway line. Play 5 builders (goalkeeper plus four) against 4 pressers. Every rep starts with the goalkeeper. Builders score by dribbling or passing into a target goal; pressers score in the big goal. Coaching points: curve the first run to cut the pass to one side, second presser locks the nearest option, the rest step up together. Progression: add a sixth builder in midfield so the pressers have to choose who to leave.
Mid block
The front line drops to around halfway, lets the opposition centre-backs have the ball, and protects the middle of the pitch. The team presses once the ball goes into midfield or out wide. For most grassroots and youth teams, this is the best default: less running than a high block and less defending on the edge of your box than a low one.
- Use it when: you want a balance of solidity and counter-attacking chances, or the opposition are better than you on the ball.
- Coaching youth teams: give the front player one job: stop the pass into the middle and show the ball wide. Midfielders stay between the ball and your goal.
Drill: three-zone game. Mark out a pitch about 60 x 40 yards split into three equal zones, 7v7 including goalkeepers. When a team loses the ball, all its outfield players must be in the middle and defensive zones within five seconds; they can only press into the attacking zone if the ball goes backwards. Coaching points: front player screens the central pass, team shifts as one toward the ball, press when the ball goes wide. Progression: allow a press in any zone, but only from a trigger (see below).
Low block
The team drops deep, usually with two compact lines in and around the penalty area, and protects the box. Opponents get the ball but little space in front of your goal.
- Use it when: protecting a lead late in a game, playing a much stronger team, or down to ten players.
- Risks: you invite crosses, shots from distance and long spells without the ball. If you never get out, you will concede eventually.
- Coaching youth teams: use it as a phase, not a whole-game plan. Young players learn more by trying to win the ball back than by sitting in.
Drill: protect the box. Use the penalty area plus 10 yards, 6 defenders and a goalkeeper against 7 attackers, with the coach feeding balls in from different angles. Defenders score a point for clearing the ball to a target player on halfway; attackers score in the goal. Coaching points: block the shot first, stay narrow, defend the space in front of the six-yard box, and step out together after a clearance. Progression: give the attackers wide players who can cross.
Pressing triggers
A pressing trigger is an agreed cue that tells the whole team “go now”. Without triggers, players press at random, one at a time, and get played through. With them, three or four players go together and the ball carrier has nowhere to go.
Common triggers that work at youth level:
- A backward or square pass: the attack has stalled and the receiver is often facing their own goal.
- A heavy or poor first touch: the ball is away from the player’s feet for a moment.
- A player receiving with their back to goal: they can’t see your pressure coming.
- A pass out to the touchline: the line acts as an extra defender and cuts their options in half.
- A slow, bouncing or lofted pass: you have time to get there as the ball arrives.
- A pass to their weakest player on the ball: agree beforehand who that is.
Coaching youth teams: teach one trigger at a time and give it a single call word. Praise the right decision even when the press doesn’t win the ball.
Drill: trigger game. In a 30 x 25-yard area, play 6 attackers against 4 defenders, with two small goals at one end for the defenders. Attackers score a point for 8 passes in a row. Defenders may only press as a group after the coach’s chosen trigger (for example, a backward pass), and score by winning the ball and finishing in a small goal within six seconds. Coaching points: first presser curves the run to cut off one side, nearest teammates lock the closest passes, the far players squeeze in. Progression: remove the rule and see whether players still choose the trigger. You can also find pressing drills in the Cupello library.
Zonal marking vs man marking
In zonal marking, each player is responsible for an area and defends whoever enters it. The team keeps its shape and is hard to pull apart, but players must communicate as attackers move between zones.
In man marking, each player follows a specific opponent. Jobs are clear and individual battles are easy to see, but a clever attacker can drag a defender out of position and open space for others.
Most teams use a mix: zonal shape, but tight to any opponent inside your zone, with a hand-over when they move into a teammate’s area. Some teams man-mark one dangerous player or use man marking to press high.
Coaching youth teams: with young players, strict man marking often turns into everyone chasing, and one player can pull the whole team across the pitch. Start with a zonal shape and the rule “defend the space, mark the player who comes into it”. Use man-to-man games in training to build 1v1 responsibility. Our defending soccer drills include 1v1 practices that help here.
Drill: hand-over channels. Mark a 40 x 30-yard area split lengthways into four channels, with a goal and goalkeeper at one end. Put 4 defenders, one per channel, against 4 attackers who can move between channels. When an attacker crosses into a new channel, the defender calls “Yours!” and passes them on. Coaching points: stay goal-side, talk early, don’t follow an attacker out of your channel unless your teammate is beaten. Progression: add a fifth attacker so the defenders must decide who to leave.
Compactness and the defensive line
Compactness is about keeping the distances small: between players across the pitch (width) and between your front, middle and back lines (depth). A compact team shifts across together towards the ball and leaves the far side open, because a long switch takes time and gives you time to slide back across.
- Shift with the ball: when the ball goes wide, the whole team slides across and the far-side players tuck into the middle.
- Step up together: when the ball goes backwards or the opposition can’t play forward, the back line pushes up as a unit to squeeze space.
- Drop together: when the ball carrier has time and space to play forward, the line drops a few yards so nothing goes over the top.
An organised line can catch attackers offside, which is the idea behind the offside trap. With youth teams, coach stepping up together after a backward pass rather than a deliberate trap, which goes wrong quickly if one player hesitates. Offside doesn’t apply in 5v5 in England, so check your format before coaching it; our guide to the offside rule explains the law.
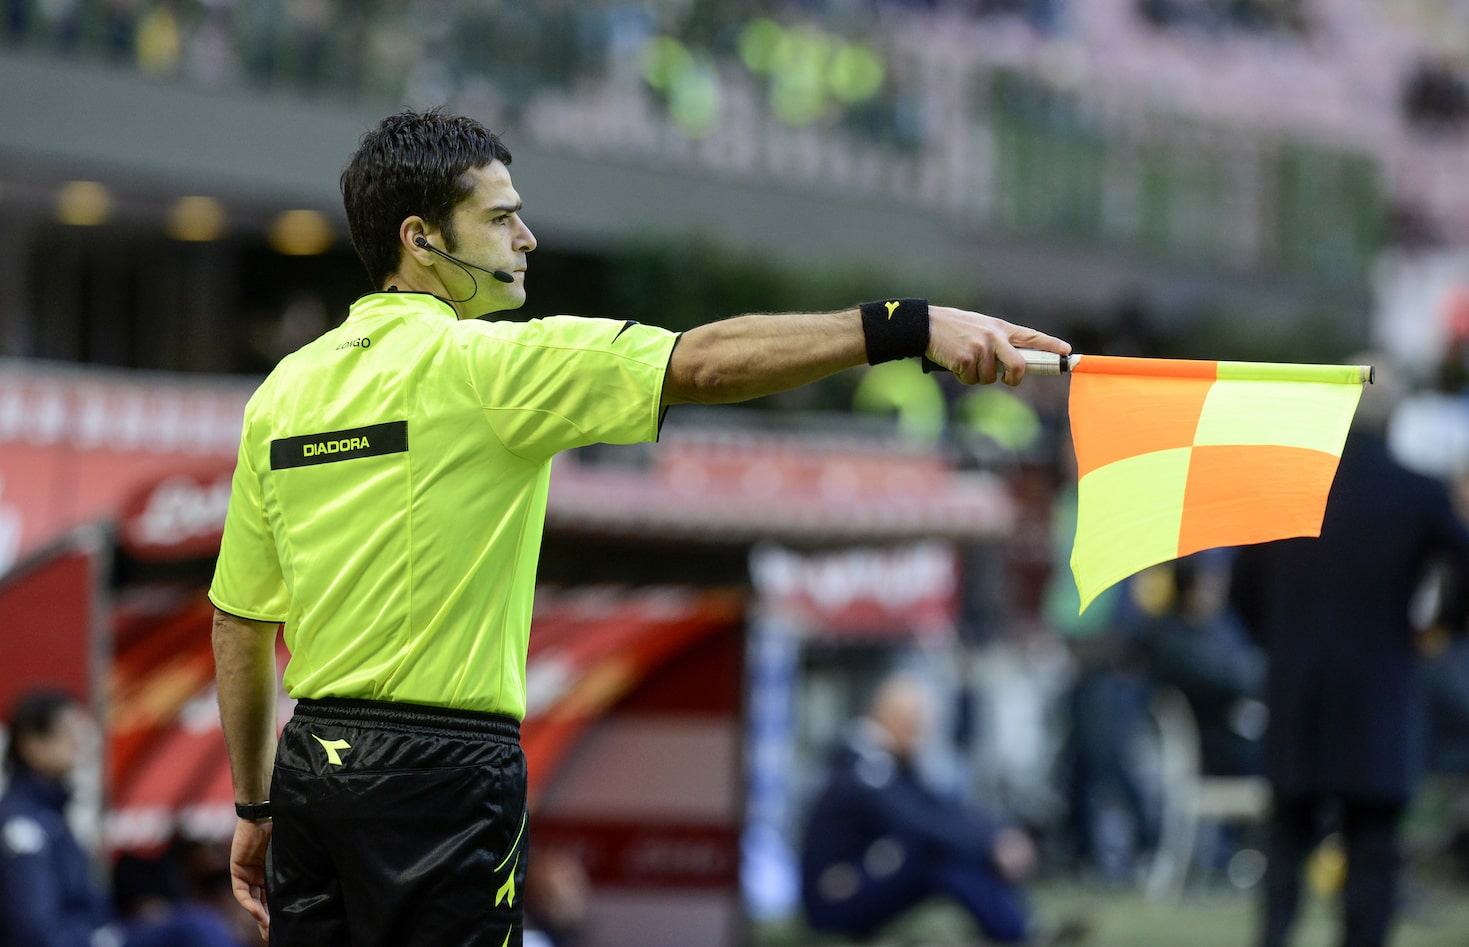
Drill: the rope. Set up four cones as passing points in front of a back four (or back three) in a 40 x 30-yard area. Two coaches or players pass the ball between the cones. The defenders imagine they are tied together by a rope: they slide across as the ball moves, step up on a backward pass and drop when the passer has time to look up. Coaching points: one player (usually a centre-back) leads the calls, keep 8 to 12 yards between players, everyone moves at the same time. Progression: add two attackers making runs in behind, then a midfield line in front.


Improve Your GameJust 1.99 p/m
Exclusive drills and sessions, get involved today!
- 100’s of Drills
- Coach to Camera Videos
- Sessions from Pro’s
- Industry Leading Advice
Defending transitions
Transitions are the few seconds after you lose the ball. The opposition are often disorganised too, so this is when many goals are scored and conceded. Teams usually choose between two reactions:
- Counter-press: the players near the ball press straight away to win it back before the opponent can look up. This works when you lose it with numbers close by.
- Recover: if the counter-press isn’t on, players sprint back goal-side of the ball and rebuild the block.
The best protection starts before you lose the ball. Good teams keep a “rest defence” while they attack: a couple of defenders and a holding midfielder stay in position to stop the counter-attack.
Coaching youth teams: keep it to one rule: the nearest player presses the ball, everyone else gets goal-side. Celebrate fast reactions as loudly as goals. Our posts on why transitions matter in youth coaching and soccer transition drills have more practices.
Drill: five-second win-back. In a 35 x 30-yard area, play 4v4 plus two neutral players who always join the team with the ball, with small goals at each end. When a team loses the ball, it has five seconds to win it back. Winning it within five seconds scores a bonus point, as well as normal goals. Coaching points: nearest player presses immediately, the next two cut off the closest passes, the rest drop goal-side if the press fails. Progression: remove the neutrals to make it a straight 4v4.
Defending set pieces
Set pieces are where a little organisation pays off fastest, because every player can learn a fixed job and practise it.
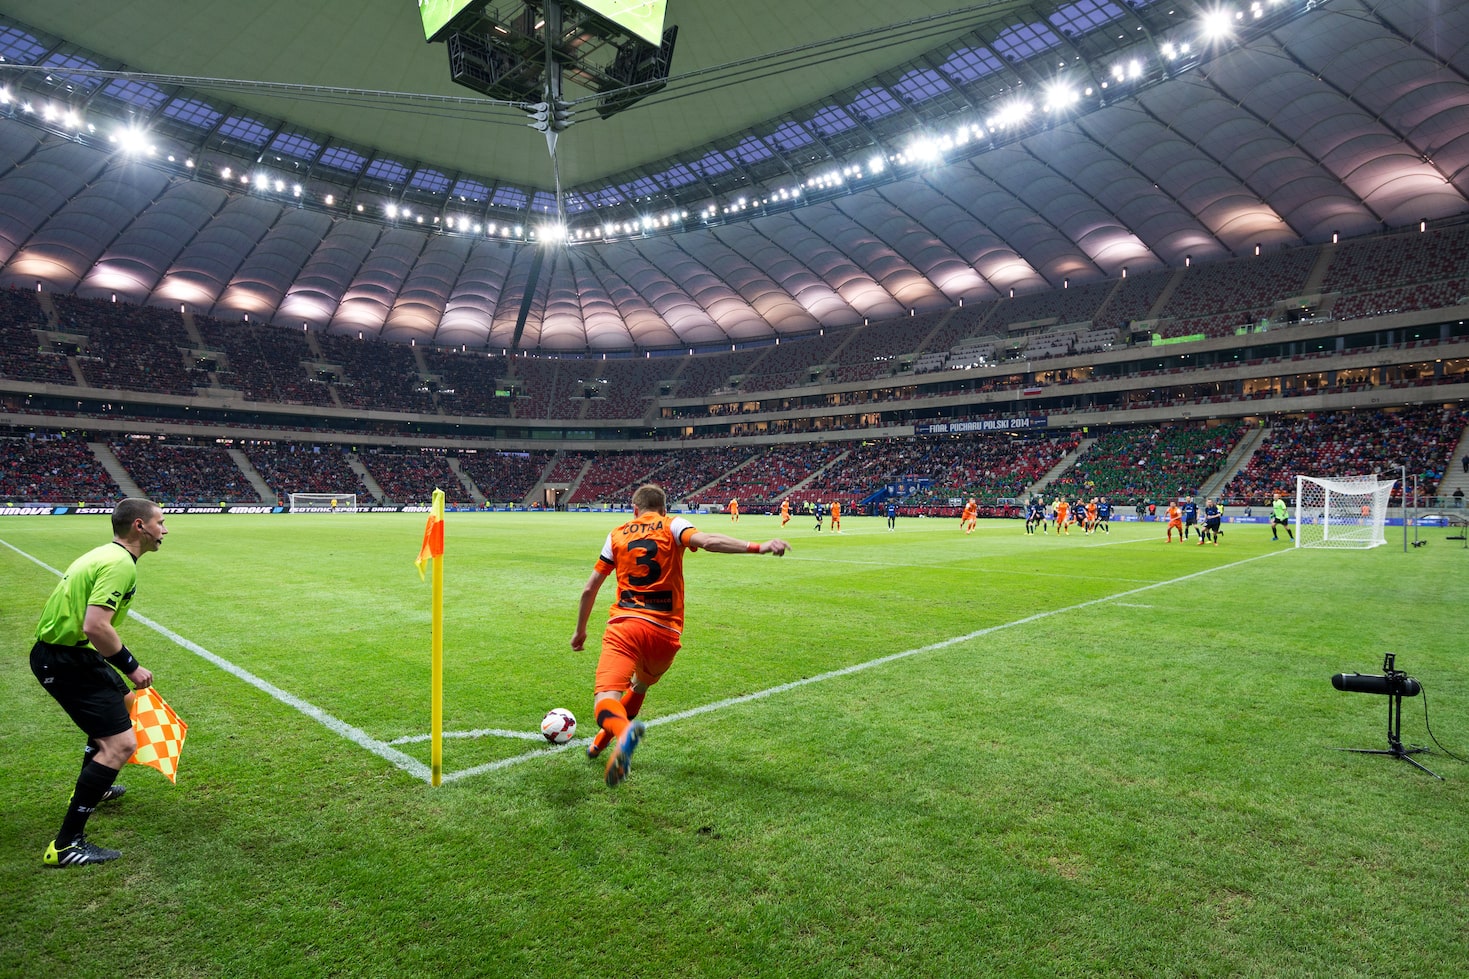
Corners
- Zonal: players protect key areas (near post, front of the six-yard box, the penalty spot). Good for teams that aren’t tall, as players attack the ball from a standing start.
- Man-to-man: each defender takes an attacker. Clear jobs, but you can be blocked off by runners.
- Hybrid: two or three zonal players in the most dangerous spaces, the rest marking the biggest threats. A common compromise for youth teams.
- Always: one player on the edge of the box for knock-downs and to start a counter, and a clear plan for who goes to a short corner.
Free kicks and throw-ins
- Wall: the goalkeeper decides how many players are in the wall and lines up the end player; the wall must be at least 10 yards (9.15m) away under the Laws of the Game.
- Wide free kicks: treat them like corners, and hold a line around the edge of the six-yard box that the goalkeeper can attack in front of.
- Throw-ins: mark goal-side of the nearest options and cover the space behind the thrower’s target for long throws.
Coaching youth teams: in England, deliberate heading is not allowed in affiliated matches from U7 to U11 (from the 2026-27 season this covers U11 as well), and heading is only introduced at U12. So with younger teams, defending a corner is about first contact with the feet, a brave goalkeeper and blocking runners, not winning headers. Two recent law changes also matter for set pieces: a goalkeeper who holds the ball for more than eight seconds gives away a corner, and from 2026-27 a team that delays a goal kick after the referee’s five-second countdown also concedes a corner. Coach your keeper to release the ball quickly. Our post on corner kick tips and techniques covers the attacking side.
Drill: corner battles. Use the penalty area and one full-size goal. Play 6 attackers against 5 defenders and a goalkeeper, taking 10 corners from alternating sides. Defenders score by clearing the ball out of the area to a target player near halfway; attackers score in the goal. Swap roles after 10 corners. Coaching points: be in position before the kick is taken, attack the ball rather than waiting for it, clear high, wide and far, and push out together after the clearance. Progression: add a short-corner option for the attackers.
Individual habits that make the tactics work
No team plan survives players who dive in. Coach these individual habits alongside the team tactics:
- Get goal-side first: between the attacker and your goal, every time.
- Body shape: side-on, knees bent, on the balls of the feet, so you can move either way.
- Delay, then tackle: slow the attacker down until help arrives, and tackle when the ball is away from their feet.
- Show them where you want them to go: usually towards the touchline or onto their weaker foot.
- Read the pass: scan before the ball arrives so you can step in front and intercept.
A four-week plan to coach it
Don’t try to coach all of this at once. A simple block of four weeks works well with most youth teams:
- Week 1: principles and compactness: pressure, cover and balance, then the rope drill.
- Week 2: your default block and one pressing trigger: three-zone game and trigger game.
- Week 3: transitions: five-second win-back, plus one rest-defence rule for when you attack.
- Week 4: set pieces: corner battles, plus agreeing the jobs for free kicks and throw-ins.
Then watch your next few matches with one question in mind: when we lose the ball, does everyone know their job? If not, go back to that week’s practice.



Cupello
Rethinking soccer coaching via our industry leading tools. Built to offer effective coaching development solutions for players and coaches of all levels.